
Setup 1: Head on over to https://brew.sh/ read the instructions, and install.
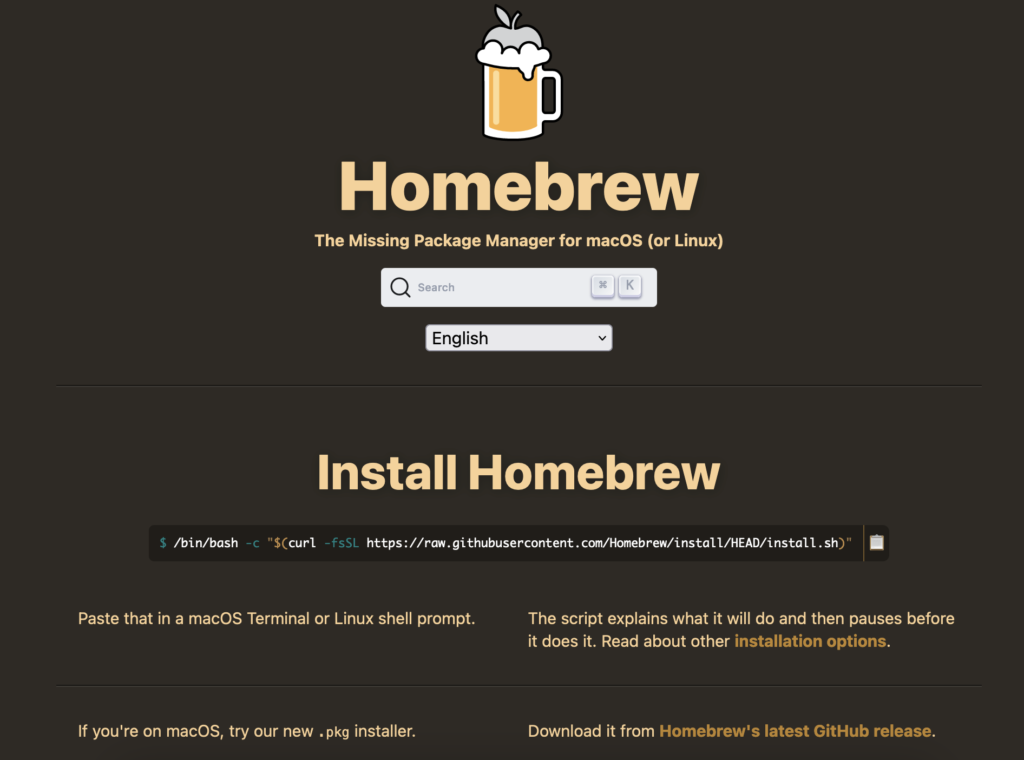
Setup 2: Once finished. Open up “Terminal” and install SDL2 with the command below.

Setup 3: Create a new project in Xcode.

Setup 4: Select “Command Line Tool” template.

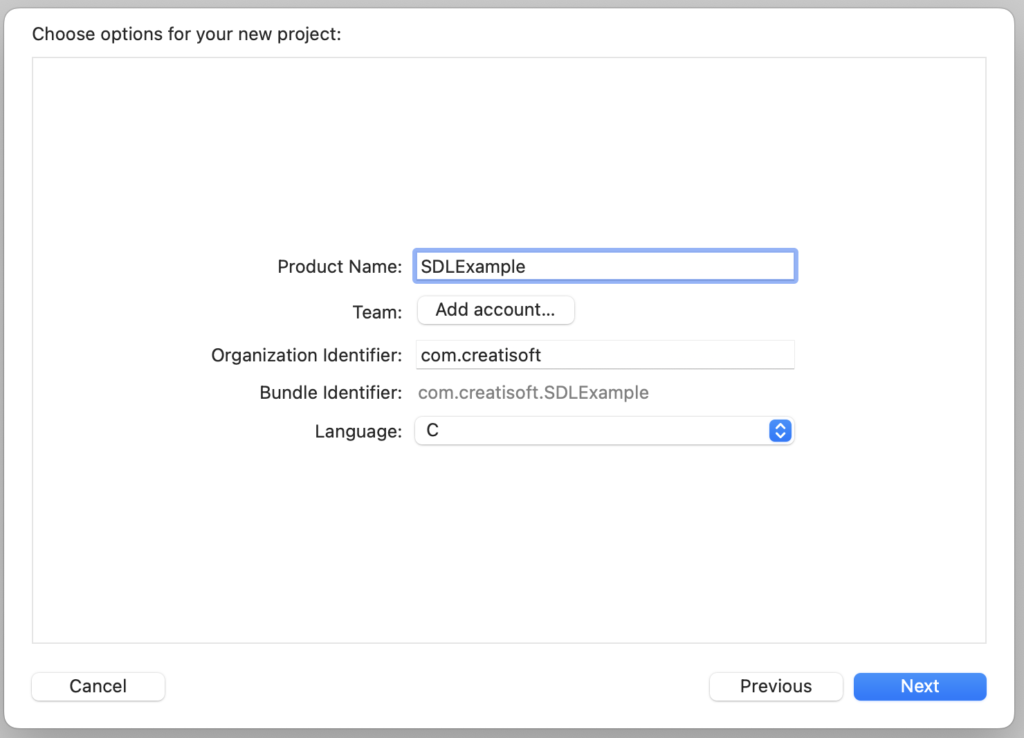
Setup 5: Choose a name for your project, and under language select “C”.
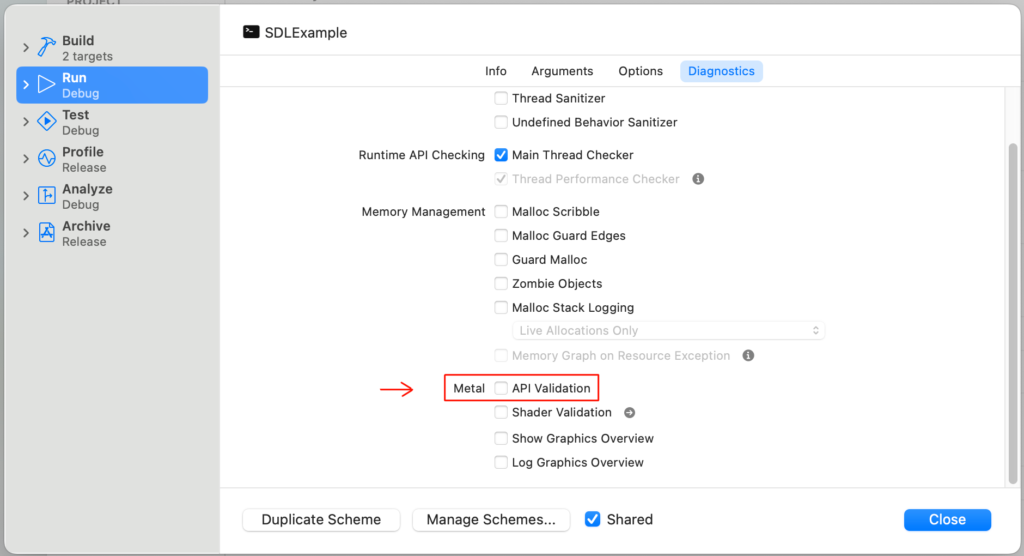
Setup 6: Go to Product -> Scheme -> Edit Scheme….

Setup 7: Uncheck “Metal API Validation”.
Setup 8: Under “Build Settings” fill the Header, and Library search paths with the appropriate locations.

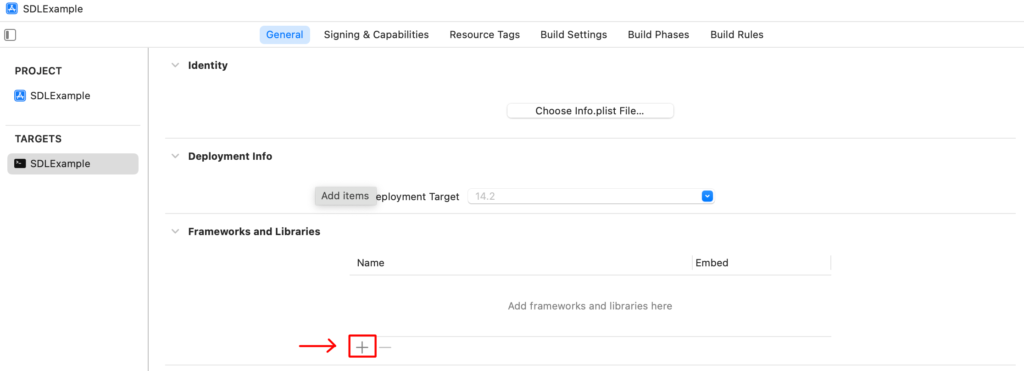
Setup 9: Under “General” click the “+” button.

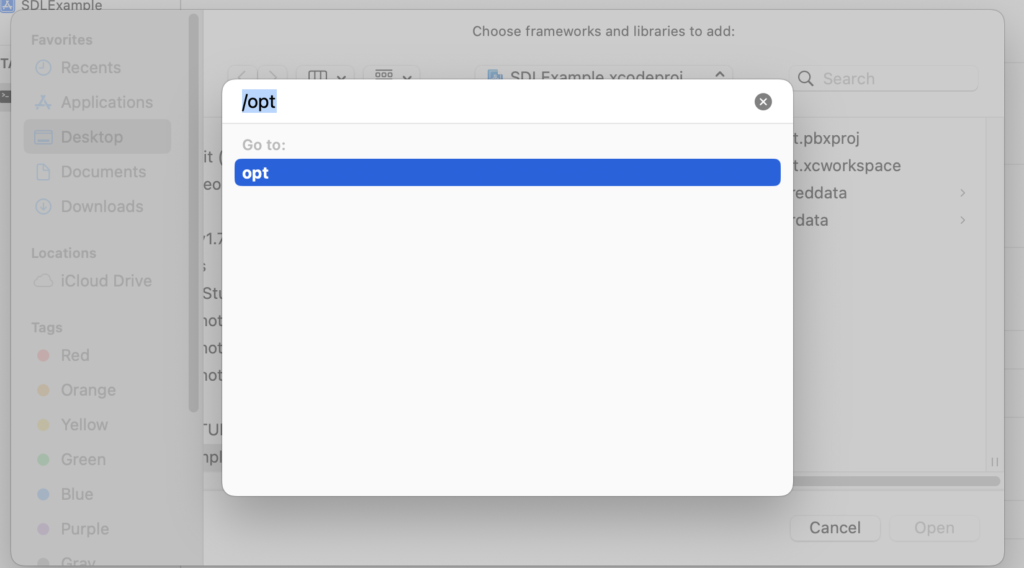
Setup 10: The Finder window will open. Press “Command + SHIFT + G”, and navigate to the “/opt” path.
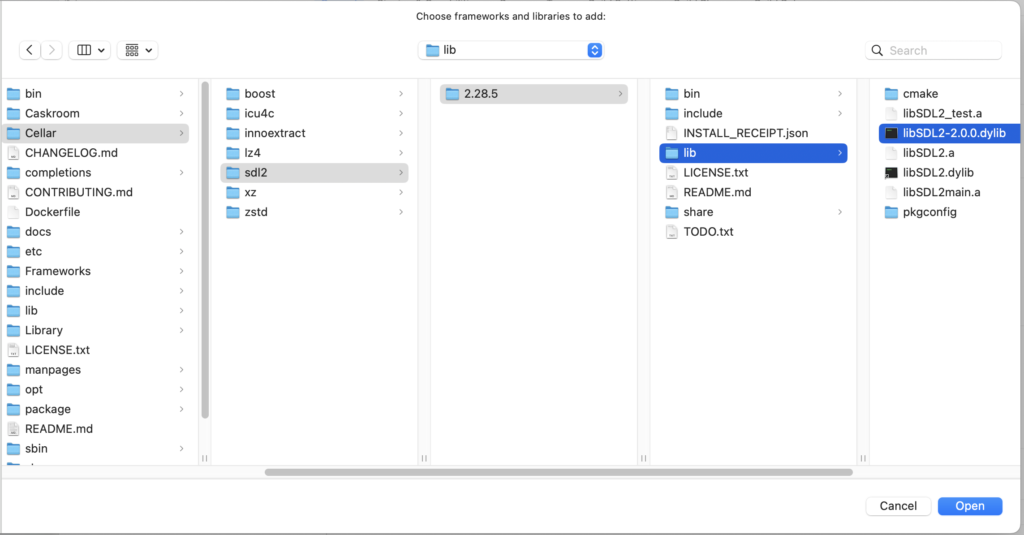
Setup 11: Follow the path below, and select the “libSDL2-2.0.0.dylib” file.

Setup 12: Finished. Everything should be working, and the only thing left to do is find an example file to compile.
Note: you will need to use the header: #include <SDL2/SDL.h>